

So, you want to hike Mount Baldy? Or as it’s more formally known — Mount San Antonio? No matter what you call it, conquering this trek is definitely a challenge — and a proud accomplishment once you’ve summited.
There are a few different paths you can use to summit, including the Baldy Bowl – Sky Hut Trail and the Baldy Notch – Devil’s Backbone Trail (which you can combine into a loop), both of which begin at the Manker Flats trailhead. I did an out-and-back route of the Baldy Notch – Devil’s Backbone Trail. This was more gradual of an ascent and descent, totaling roughly 13.6 miles with just under 4,000 feet of elevation gain.
I hiked Mount San Antonio on a Saturday in mid-June, and for me it was a challenging hike just due to the lack of air there is when you’re up at 10,000 feet. It’s just harder to breathe when you’re so high in elevation!
Here are some other key lessons I took from my trip — and what you should know to prepare for, beforehand to have the most successful experience reaching the summit.


Leave Early
We left our apartment at 6:30 a.m. and arrived at 8 a.m., and there was already virtually no parking at the trailhead. I’ve heard that sometimes the parking fills up even faster on weekends (even as early as 7 a.m.) so I actually felt like we got pretty lucky.
Do Some Pre-Research
We spent some time researching and debating which trail we wanted to take to the summit. The one we chose might not be the best for you — but we liked it because it was more gradual of an ascent, and we didn’t have hiking poles (they’re on my shopping list!).
It’s also important to note that this year, 2021 was a very dry year in California. This meant there was much less snow than there would have traditionally been in a normal year, so the summit didn’t have any snow when we hiked (but some years the snow can last well into late June).
Also, you must purchase an Adventure Pass which goes toward maintaining, managing and improving the amenities in the forest such as emptying the trash cans and restrooms. An adventure pass can be purchased for $5 and will allow you to park anywhere in the San Bernardino National Forest. You can buy them at a range of retailers such as 7/11, Arco, and REI. Check out everywhere you can buy adventure passes, here!
Bring Plenty of Extra Water and Snacks

It sounds silly, but the number one thing I’d say to bring to best enjoy the experience (besides other essentials such as a rucksack and trekking poles) would be extra water, and snacks. This is just a day hike, after all — it’s not like you’ll be backpacking the length of the PCT with an extra load.
I’ve seen reviews of this mountain call out to the anomaly of the Top of the Notch restaurant which sits three miles up the trail at the top of the first chairlift at 7,800 feet — but I would not bank on that restaurant being open for you to get food. It could be (and it’s perfect for a brew on the way back down, if it is) but be sure to bring your favorite hiking snacks, too just in case.
It’s also always important to bring enough water (plus some extra). Conner and I had a combined five liters between the two of us. We put the water bottles in the freezer the night before which kept it nice and cold for hours while we were hiking.
This is a very exposed trail, so you’ll be in the sun for most of the trek. Since it’s also a lot of elevation gain in a short amount of time and you’re already starting the hike upwards of 6,000 feet, you’ll definitely want to be prepared with plenty of water and nourishment.
Wear Layers

It was much cooler when we started the hike at 8 a.m., but as the day progressed, it got much hotter.
I’d recommend bringing layers, because it was nice to have a long sleeved shirt to wear on the way back down when I was sweating less, just to protect my skin from the sun.
The Lowdown on My Route:
We parked adjacent to the Manker Flats campground, and made sure to prominently display our adventure pass. The trail begins up a paved road that quickly turns to a gravel fire road path after you pass the San Antonio Falls overlook. This part of the hike isn’t too steep.
This fire road eventually crosses the Mt. Baldy ski area where you can watch the ski lifts running above you and wave to the people taking the easy way up!), and meets up at Baldy Notch where the Top of the Notch Restaurant is located.

Once you reach the Baldy Notch, you can hike straight up what would normally be a winter ski run. There’s one ski run that is MUCH steeper, which we took on the way up, since it was more direct. It was pretty challenging. I’d honestly say this was the hardest section of the hike, for me.
The other route up is less steep, but takes longer — we took this way on the way back down. Ultimately you’ll be leaving and arriving at the same place.
When you finally reach the boundary of the ski area, you’ll arrive at the infamous Devil’s Backbone Trail.


This trail sounds scarier than it actually is, due to its imposing name. It runs along the top of the narrow ridge offering unparalleled sights of Southern California on both sides for MILES. This route doesn’t require any technical equipment, but trekking poles do help.

The last climb up to the top is a series of switchbacks that take a long time, since it’s a busy trail with hikers going up and down at the same time. Just… take your time on this part.
I’m a fit gal, but since I live at sea level in LA the lower oxygen levels at this higher altitude made it a slower climb for me. This is also the section of the hike that bringing trekking poles really helps. Have patience.
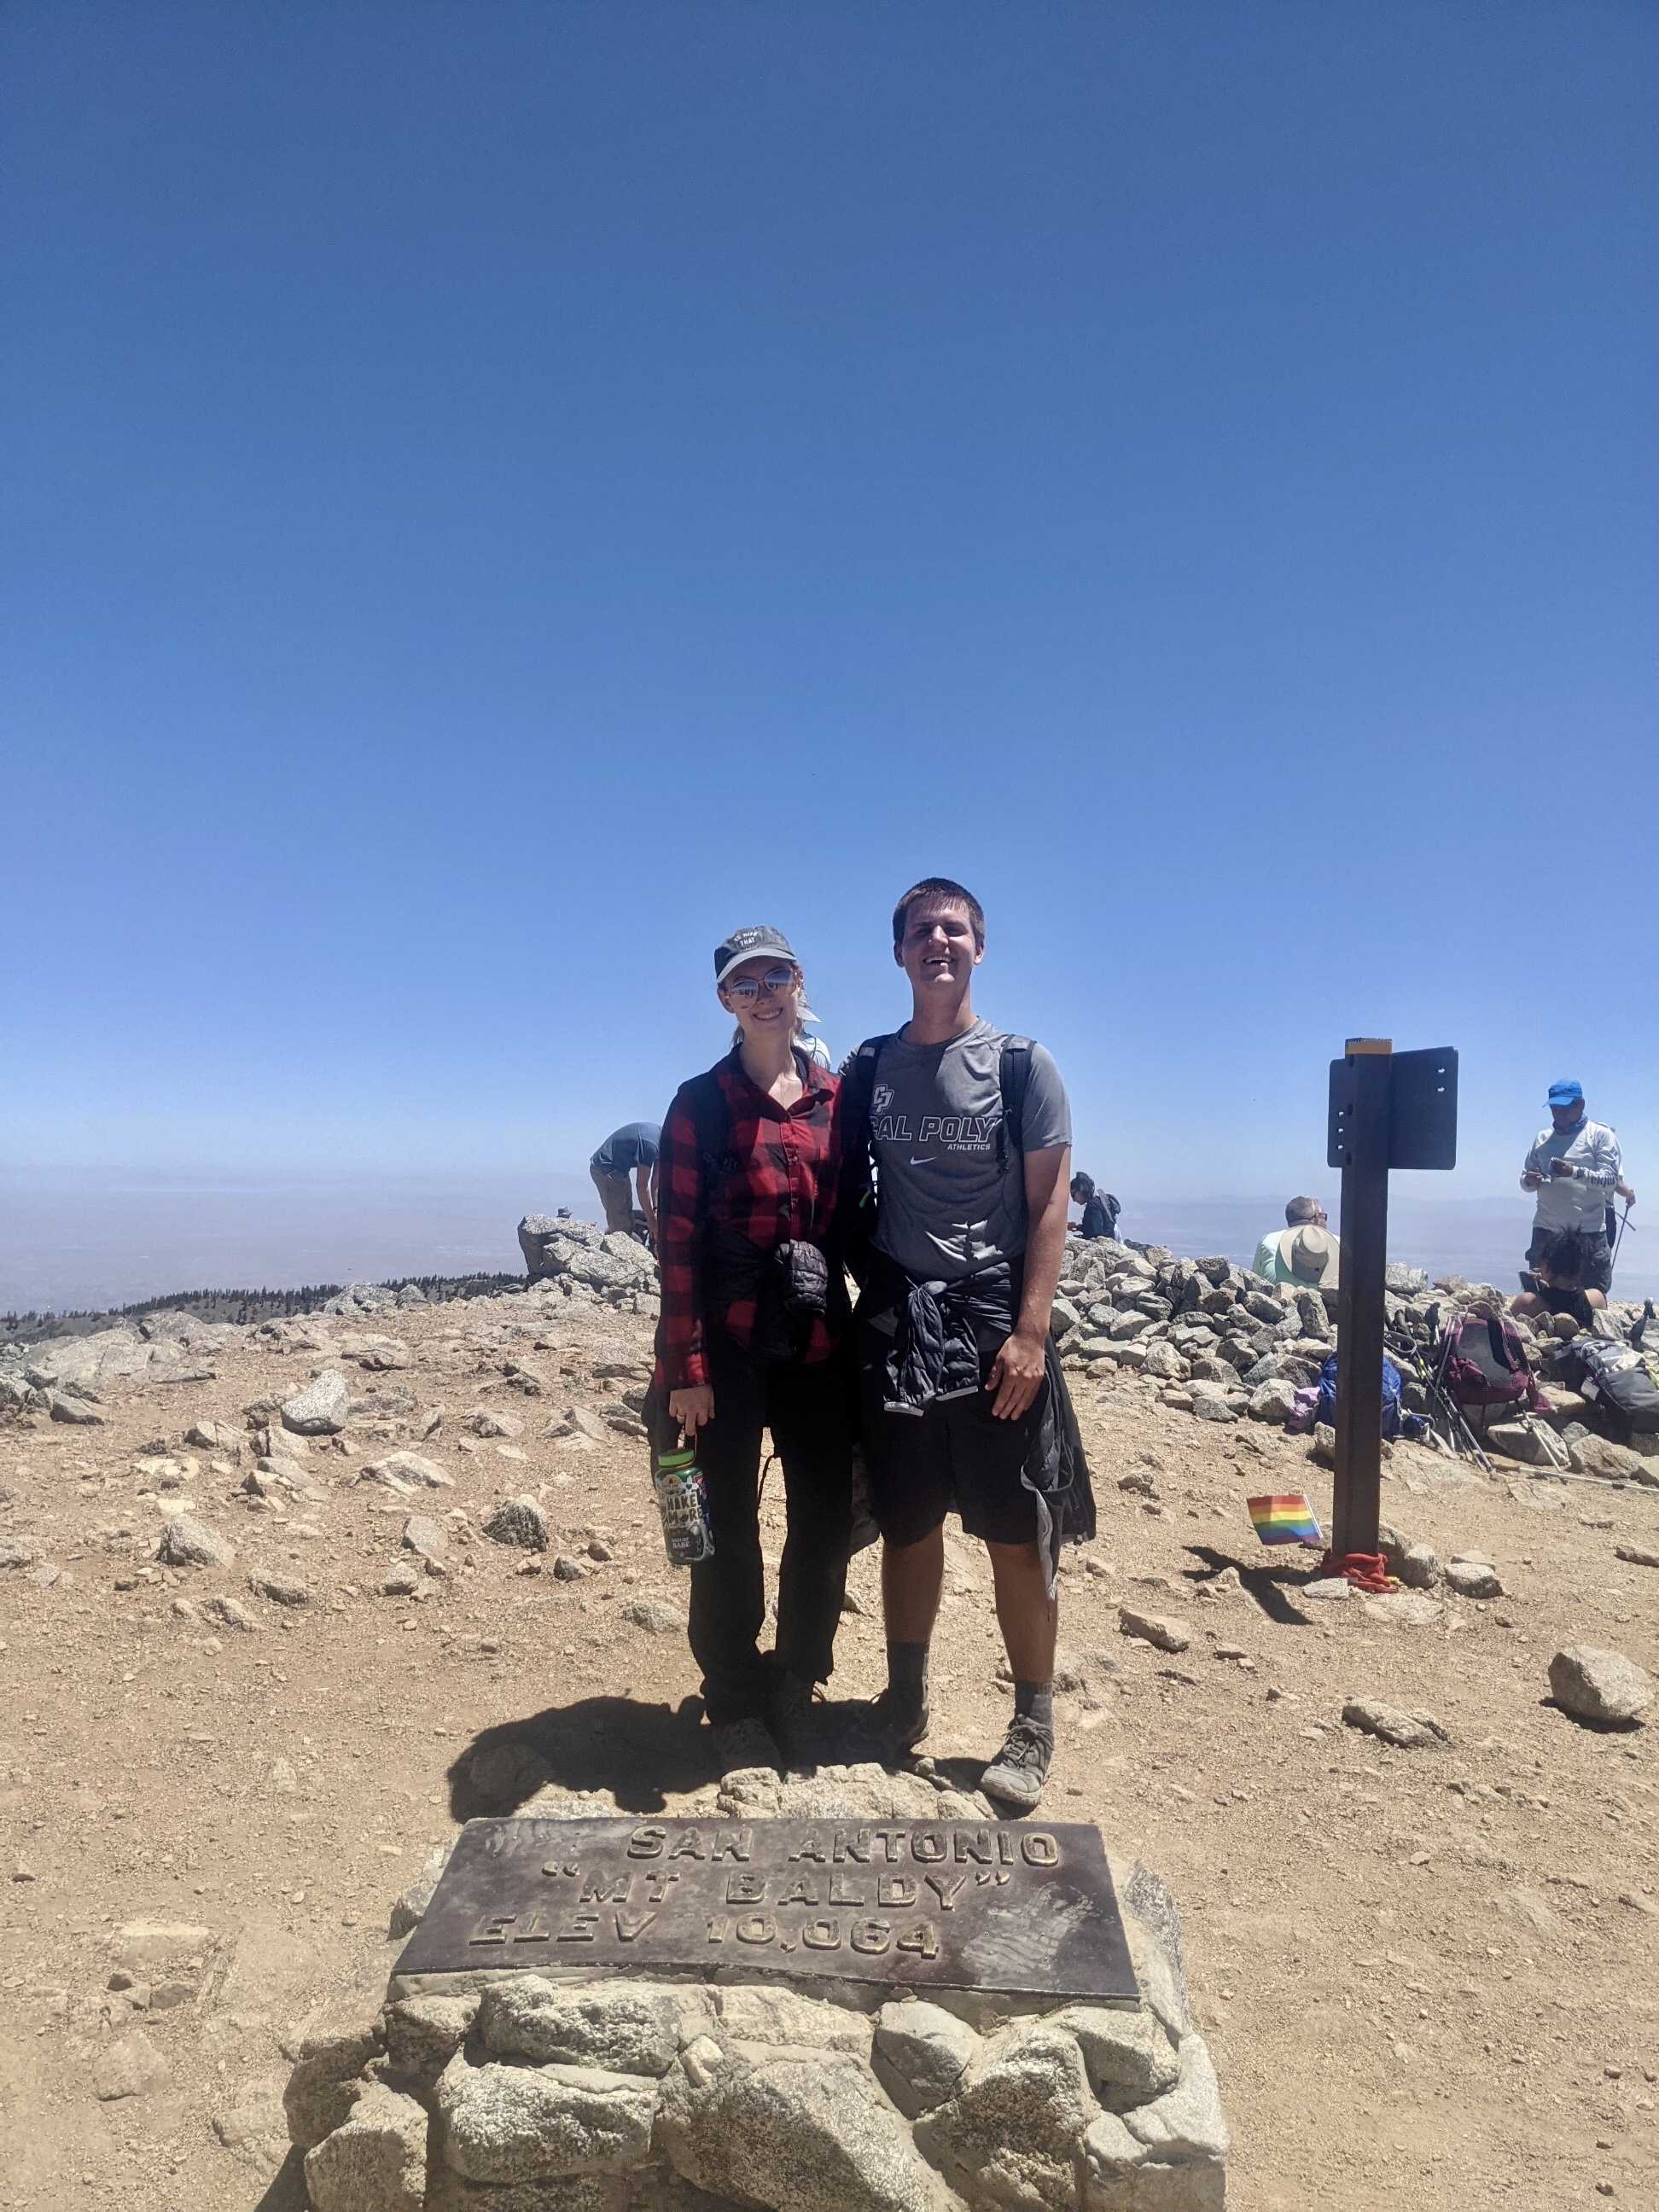
Finally, when you’ve conquered these switchbacks, you’ll reach the summit of Mt. San Antonio! The top of this mountain is a large, flat open space with no trees or greenery (hence the nickname “Baldy…”). Here, you’ll find an unmissable iron plaque marking the tippity top.

There are little manmade stone shelters on the summit to offer some protection from the winds, which can get very strong depending on the day and time of year. We got lucky, and it wasn’t too windy on the day we reached the peak!
On a clear day, you’ll enjoy clear views looking miles in every direction — including ones of Southern California’s other “principal peaks,” Mount San Jacinto, Mount San Gorgonio, and Santiago Peak — which I guess is next on my list?!
On the way back down (we headed back down the same way we came up, even though we knew it would take longer we thought it’d be easier since we didn’t have trekking poles for the steep climb downward on the loop) we hit the “Top of the Notch” restaurant which has a water fountain to refill your bottle as well as food, drinks, and full-use restrooms. I treated myself to a celebratory brew.


Have you hiked Mount Baldy too, and want to hike together in LA, sometime? Reach out to me at hellomollyannobrien@gmail.com!
———————————————————————————————————————————————————
Follow Metropolitan Molly updates by subscribing to my newsletter, website and on social media below:
Hi Molly, I’ve hiked up a couple times from the north side via Pine Mountain. I don’t know the distance, but back then we were able to drive from Highway 2 about 10 miles west above Mountain High Ski lift, Blueridge and Wrightwood until we met a trail that turned South across a backbone to Pine Mtn and on to Baldy.